Ok, I admit it… I have been hooked on playing Forza 6 on the Xbox over the Christmas Holidays and part of the fun is being able to paint and detail your cars… and that got me thinking about having fun with cars in Photoshop. Now this tip is not the ultimate trick to do the most amazing graphics on your cars… that will take a lot more time and patience than this blog can ask… but it will get you started on playing around and hopefully inspire you in some new ways.

beginning car courtesy of pixelsquid.com
So first thing you may want to do it change the vehicles color… choose Hue and Saturation from the Adjustment layers menu at the bottom of the Layers Panel. Make sure to click Colorize and then adjust sliders to the color you want. Below is the setting I used for this one.

hue and saturation color change
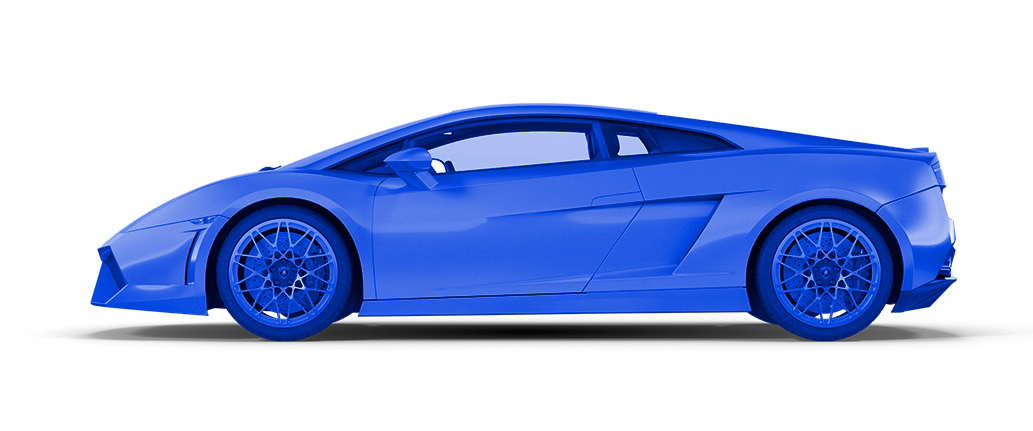
color change
Now you will see that the adjustment has changed the entire car, so you will want to add a layer mask and paint with black to remove the adjustment color from the tires and the windows. If you have the car on a background layer, you will probably have to mask out the shadow and the rest of the background as well.
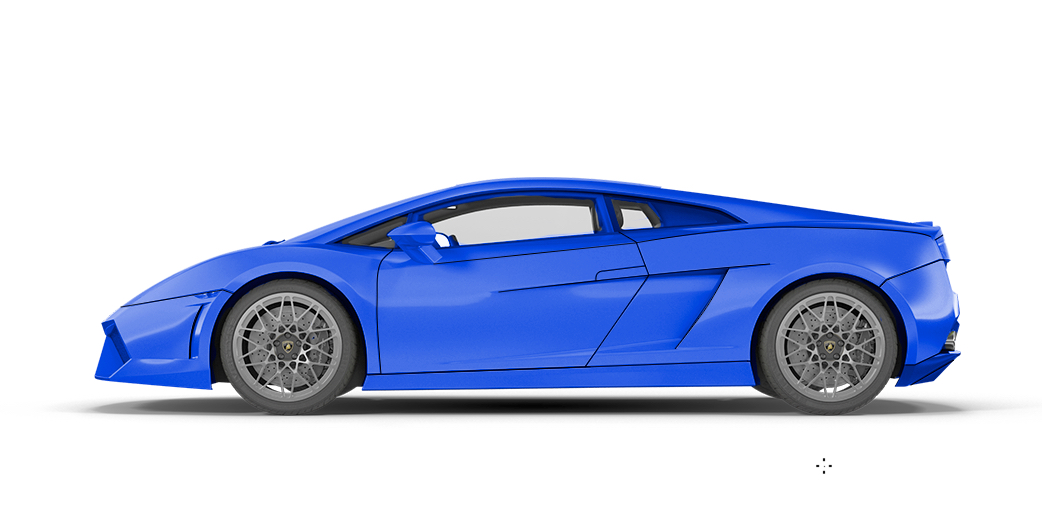
mask out windows and tires
You could start to place graphics on the car as it is now, but in order to help sell the idea of the graphics interacting with the car, you will want to create a new mask with the lines of the car such as around the door. The best way to do this is to use the pen tool to trace around the lines, such as the handle in the image below. One of the simplest ways to do this is to trace one section of lines and then right click and use Stroke path to draw a thin black line over that path. (Note: you will need to set your paintbrush to black and have its size set pretty small. I set mine for 1px with 100% hardness.) Once you have drawn the line, right click and delete path so that it will not interfere with the other lines and repeat the process all around the car.

Using pen tool to trace the lines

here are the thin lines drawn with the pen tool all on one layer that will follow the contours of the car
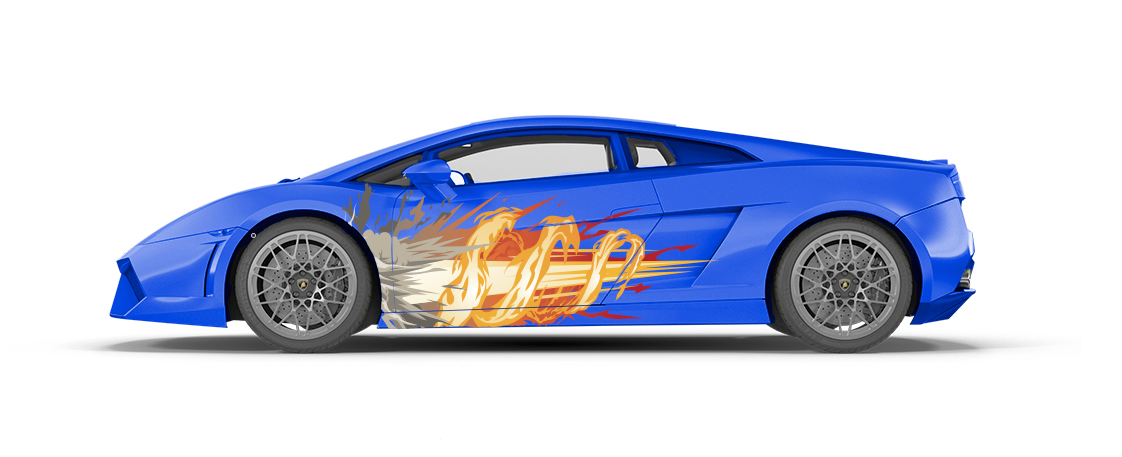
When you place a graphic on the car, add a blank layer mask. Now you want to mask out the lines… all have to do is Command click (PC Ctrl click) on the thumbnail of the lines layer to load the selection of the lines even if that layer is hidden. Then click on the blank layer mask and fill in the selection with black or just paint with black to remove the areas you want. Notice in the two images below how the lines being masked out help the look.

add a swirl

It looks better with the lines masked out
That is really all there is to it… you can use brushes, vector graphics and photographs… there are endless possibilities of what you can come up with. So get in there and have some fun. Below are some other quick examples I did using simple vector images. for those of you who want to take it that extra step… using the warp or puppet warp features to bend the graphic along the contour of the car will make it even more realistic, but it also takes a bit more work.

blocks
boom
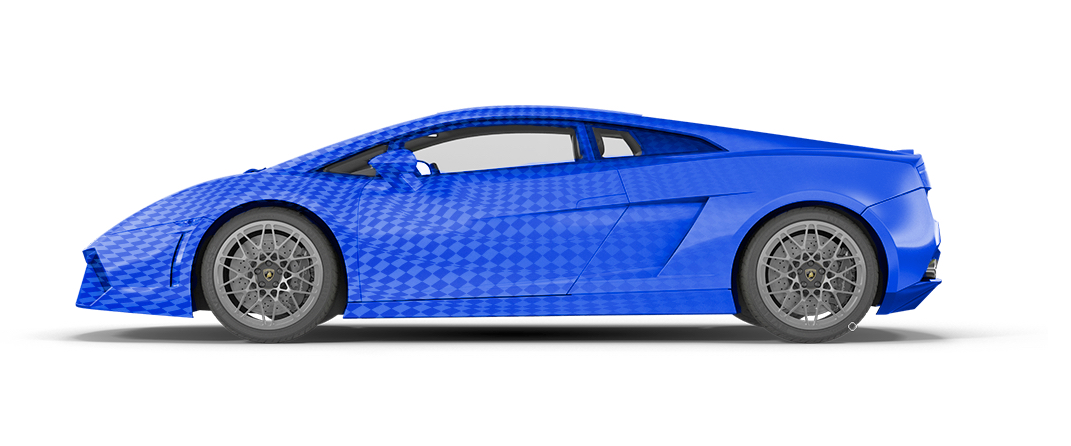
grid
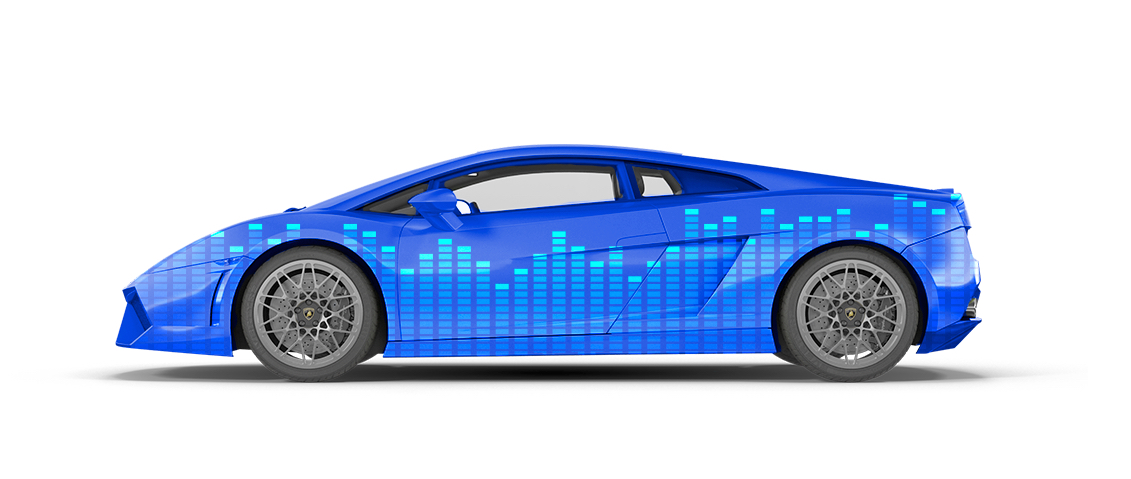
equalizer
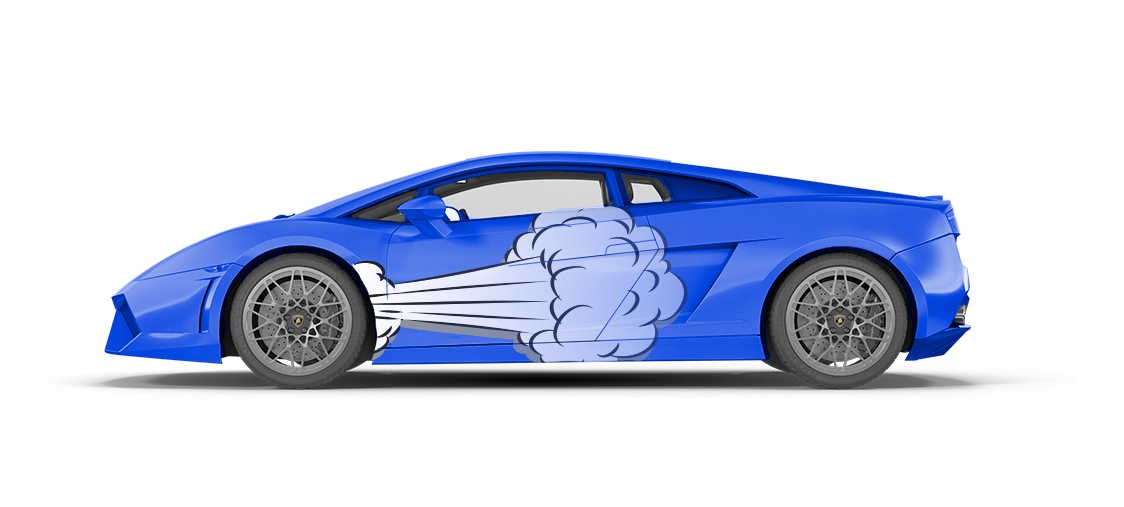
smoke
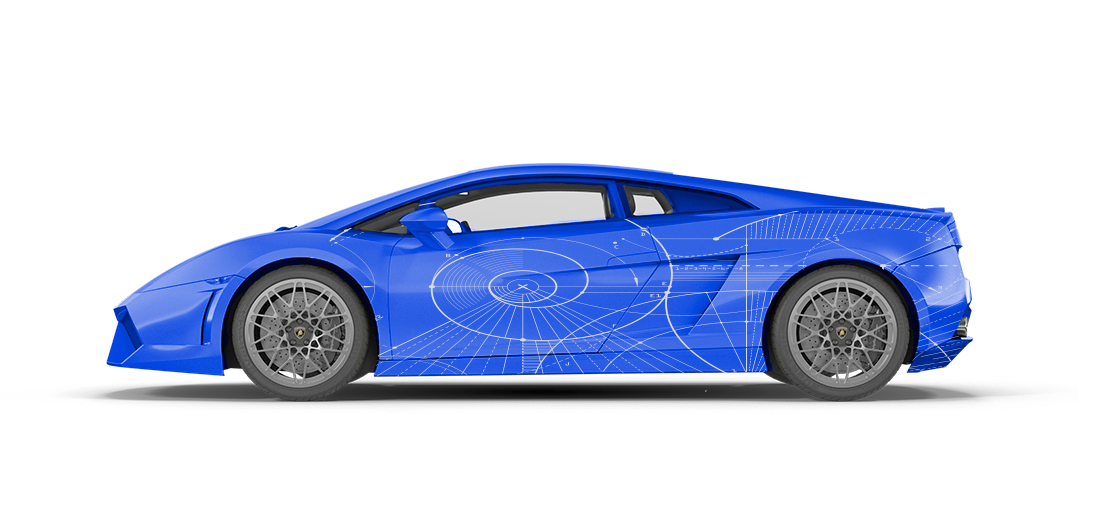
spirograph
I have one car I did with a picture of one of my kids looking like they are hanging horizontally from the front wheel well as the car zips along as if it is going super fast… that could be a fun idea for a greeting card or just having fun with your family. 
אין תגובות:
הוסף רשומת תגובה